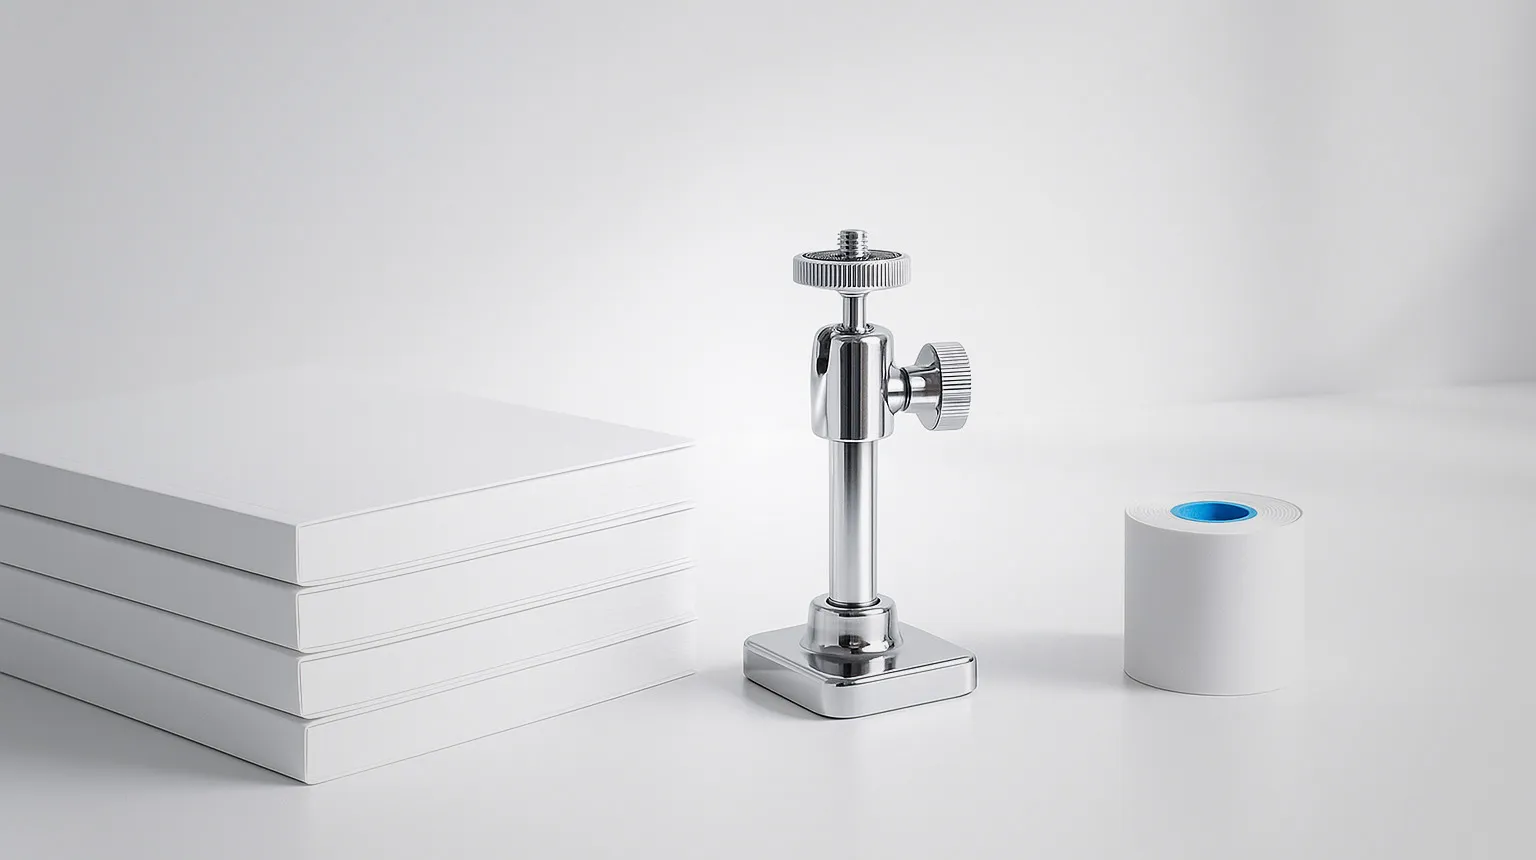
What a DIY Photo Booth Really Is
Strip the enclosure away and a photo booth is five things: something that takes the picture, something that lights the face, something behind the guest, something that runs the session, and something that delivers the photo. A DIY photo booth is those five parts assembled by you instead of bought as one machine.
Almost every homemade build goes wrong at the same point, and it is not the one people expect. The box gets weeks of attention and the light gets an afternoon, when the light is what the photographs are made of. Build in this order instead: light, camera, software, backdrop, printing, and only then whatever holds it all up.
The DIY Wedding Photo Booth
This is what most people mean when they search. A DIY wedding photo booth for your own wedding is a good idea and it works, as long as you decide in advance what the corner is for. If it exists so guests have something to do between dinner and dancing, a tablet on a stand, a light and a backdrop will do it. If it exists so every guest goes home holding a photo with your names on it, you need a printer, and the printer is the line that turns a DIY project into an equipment purchase.
Three things decide whether a wedding photo booth DIY setup gets used at all. Where it stands: near the bar and the route to the dance floor, never in a side room nobody walks through. Whether the light is yours: venue lighting at a wedding is warm, dim and often coloured, and a booth relying on it produces orange faces in every frame. And who restarts it: at some point during the night the app will need a tap, and if that person is you in a wedding dress or a suit, the booth is off for the rest of the evening.
Ask a couple who did it themselves what they would change and the answer is almost always the same two things: prints, and somebody to watch it. Everything else about a DIY photo booth for a wedding tends to land fine. If the wedding is somebody else's and they are paying you, read the last section of this page first, and the format comparison in the wedding photo booth guide.
The Five Parts, and What Each One Is For
The camera. A tablet or a phone is the honest starting point, and for a party it is enough. A camera with a remote trigger gives you better files in low light and depth that a phone lens does not reproduce, at the cost of a tether, a mains adapter and a cable somebody will eventually kick. The reasoning behind each option is in the photo booth camera guide.
The light. Continuous, not flash, and pointed at faces rather than at the lens. This is the single biggest gap between a homemade booth and a built one, and it is also the cheapest gap to close. One light you control beats any room you did not design.
The backdrop. Wide enough for a group of six to open out without the wall of the venue appearing at the edges, tensioned so it does not crease, and far enough back that you can light it separately from the faces. Materials and sizes are in the backdrop guide.
The software. Capture, countdown, template, print, share. This is the part where DIY has genuinely caught up, and it has its own section below.
The printing. Dye sublimation, because the photo comes out dry and survives a pocket. There is no homemade version of this part, and an inkjet in a box is what people try first and abandon after one event. The range and how many prints each model gives per roll are in the DNP printer guide.
What we deliberately are not giving you here is a cut list with dimensions or a shopping list of specific models. Both depend on the camera you own, the space you have and the printer you can get, and a plan copied from someone else's parts is how people end up with a box that fits nothing they bought.
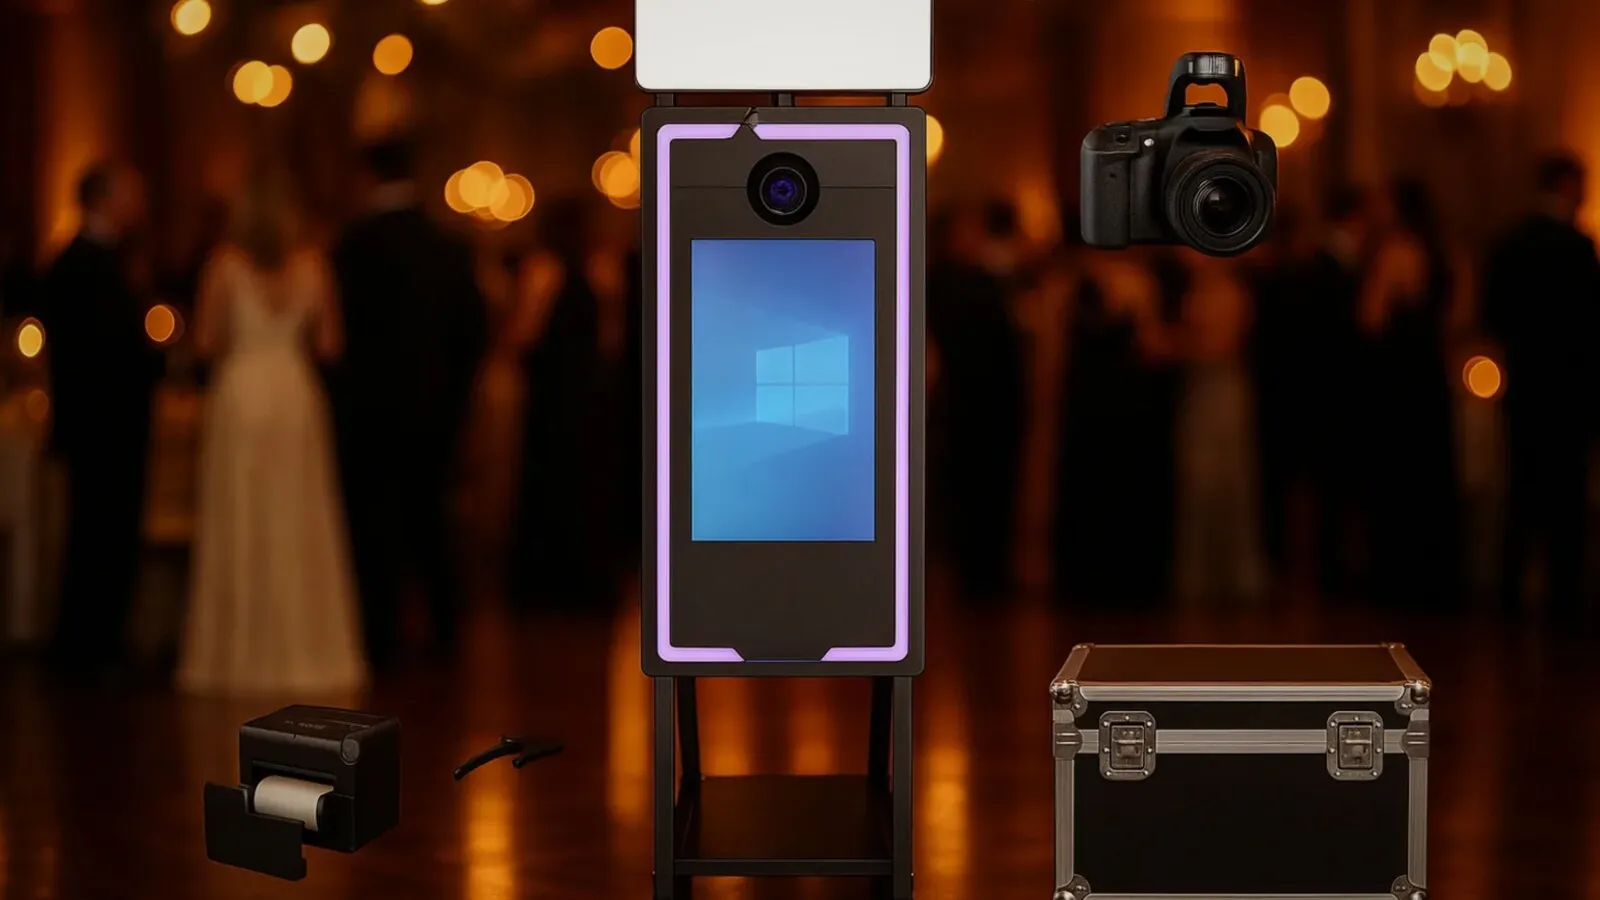
DIY Photo Booth Software
Software is the part of a DIY build that no longer holds you back. The best DIY photo booth software for a homemade setup is whichever one runs on the device you already have and talks to the printer you actually own, and there are free options that do the job for a one night booth. Snap360App has a free version and runs from a phone or a tablet, which is usually where a DIY photo booth starts. Free DIY photo booth software stops being enough when you need client branding, a gallery you hand over afterwards and behaviour you can rely on when the venue connection drops, so treat the free tier as the way to test the build rather than as the finished answer.
Test it in the exact combination you will use: that device, that printer, that template, one full run from countdown to print in your hand. A capture app that works perfectly on screen and cannot drive your printer is the most common late discovery in a DIY build, and it always shows up the evening before.
Why the Photo Comes Out Mirrored, and How to Stop It
The preview is mirrored on purpose. People frame themselves far better when the image moves the way a mirror does, so capture apps flip it on screen. What the app saves is a separate setting, and on a lot of setups it saves the flipped version too, which is why text on a t shirt or a sign reads backwards in the print.
Look for a flip or mirror option in the capture settings, turn it off for the output and leave the preview alone, then take one test photo with writing in the frame and read it back. Do this before you design the template, because a layout built around a mirrored frame has to be redone once the image turns the right way round.
The Three Builds People Attempt, in Order of Difficulty
DIY Vintage Photo Booth
The most achievable of the three, because a vintage cabinet is joinery around standard parts. If you want to know how to build a vintage photo booth, the honest summary is that the woodwork is the easy half and the two hard parts are weight and strips. A cabinet built without a plan for moving it becomes furniture, and the strip format that makes the whole thing look right comes from the printer and its media rather than from the build. Compare what you would end up with against a vintage booth from €2,359 plus VAT before you buy the timber.
DIY Mirror Photo Booth
A DIY mirror photo booth is where most home builds stall, and the reason is the glass. A magic mirror photo booth needs two way glass with a camera behind it, a display behind that and a touch layer in front, aligned as one piece and lit so the room does not appear in the reflection. Build the mirror photo booth box and you have solved the easy part. A DIY selfie mirror photo booth that half works is common: the picture is fine and the touch response is what guests give up on, because the glass adds a gap between finger and sensor that nothing in the software can compensate for. This is the format where the gap between homemade and built is widest, and a mirror booth starts at €2,359 plus VAT.
DIY 360 Photo Booth
A 360 build is a mechanical problem wearing a digital costume. How to make a 360 photo booth comes down to two things the software cannot fix: a spin at constant speed with a phone balanced on the end of the arm, and a platform that sits level. A platform that leans lets the arm accelerate on the way down, and that wobble lands in the clip at the moment everyone watches it back. The lighting is the other half, since video needs continuous light all the way round and a flash contributes one frame out of hundreds. A built 360 platform starts at €2,771 plus VAT, which is the number worth holding next to the hours a motorised arm takes to get right.
What Fails First in a Homemade Booth
Not the enclosure. The enclosure is usually overbuilt, because it is the part that feels like the project. What fails is the light and the printing.
The light fails quietly. A lamp that looked fine in an empty room at six o'clock is fighting a warm venue wash and a hundred bodies by ten, and every photo after that point is darker and more orange than the ones you tested. Nobody at the party says anything. You see it the next morning in the album.
The printing fails loudly. A printer that is not made for events runs out, jams, or slows to the point where a queue forms and disperses. Dye sublimation exists because of exactly this, and the reason it is the standard at events is not photo quality, it is that it delivers a dry print in seconds, roll after roll, without anybody supervising it.
There is a third failure that is harder to see coming: nobody is watching the booth. A built machine is designed to be left alone for an hour. A homemade one usually needs a person who knows how it works, and at your own event that person is you.
The Part You Cannot Build: Consumables
Every print costs you paper and ribbon, and dye sublimation media is sold as a pair that produces a fixed number of prints per roll. That number, divided into the price of the media, is your true cost per photo, and it is the only running cost of a photo booth that never goes away. Work it out before you decide whether the booth prints at all, because it changes the answer for a wedding as much as for a business.
Two things follow from it. Prints per roll matter more than print speed at a real event, since a roll that runs out mid evening ends the printing whatever the machine can do per minute. And a compact printer that takes fewer prints per roll is not cheaper to run, only lighter to carry. Which model gives what is in the DNP printer guide, and the full inventory around it is in the photo booth equipment list.
When DIY Stops Paying
There is a clean line, and it is not about skill. A booth for your own party has to work once, on a date you chose, in a room you know, with you standing next to it. The moment somebody pays you, all four of those change at the same time: the date is theirs, the venue is one you have not seen, you are the person who has to fix it, and the machine has to look like the photograph they booked from.
That is the point where building your own stops being a saving. A DIY photo booth business fails on the boring things rather than the technical ones: no spare when a part dies mid season, nothing to sell on when you upgrade, no supplier to call on a Saturday, and a machine that photographs like a homemade machine in the exact marketing photos you need to win the next booking. How to make a photo booth business work has more to do with bookings and pricing than with hardware, and that maths is in how to start a photo booth business.
None of which makes building one a waste of time. If you want the project, build it, and you will understand every machine you look at afterwards better than most operators do. Just be honest about which of the two things you are doing, because the corner of your own wedding and a machine that works every weekend are different objects that happen to share a name. When it becomes the second one, the options are on photo booths for sale, and the used market is worth a look first in the second hand guide.
Tell Us What You Were Going to Build
Describe the setup you had in mind and the events you want to cover, and we will tell you which parts are worth doing yourself and which format replaces the rest. If building is the right answer for you, we will say so.
Request a Quote