Read the Room Before You Unload
Walk in empty handed. Find the socket you are actually going to use, not the one on the plan. Find the door the catering team will be pushing tables through, because that is the door you must not park a booth in front of. Look at the floor where the machine will stand and look at the ceiling lights above it. Two minutes of this changes where you put everything, and it is far cheaper than moving a built booth.
Then unload in the order you will build, so nothing you need first ends up at the bottom of the van behind the props crate.
The Order of Assembly
- Power. Run the extension lead and tape it down before anything else stands on top of its route. A cable added later always crosses the wrong place.
- Structure. Platform, cabinet or totem, positioned and levelled while it is still light enough to fix.
- Camera and printer. Mount, connect, load media. The printer wants a flat surface and air around it, not the inside of a closed plinth.
- Software. Launch it, load the client template, run one full session end to end, capture to print or share.
- Light. Aim it at faces, not at the lens and not at the mirror. This is the step people rush and then spend the night apologising for.
- Backdrop and props. Last, because they are the only parts you can reposition in seconds once guests are in the room.
The principle behind the order is simple: everything that is hard to undo goes up first, everything that is easy to move goes up last.
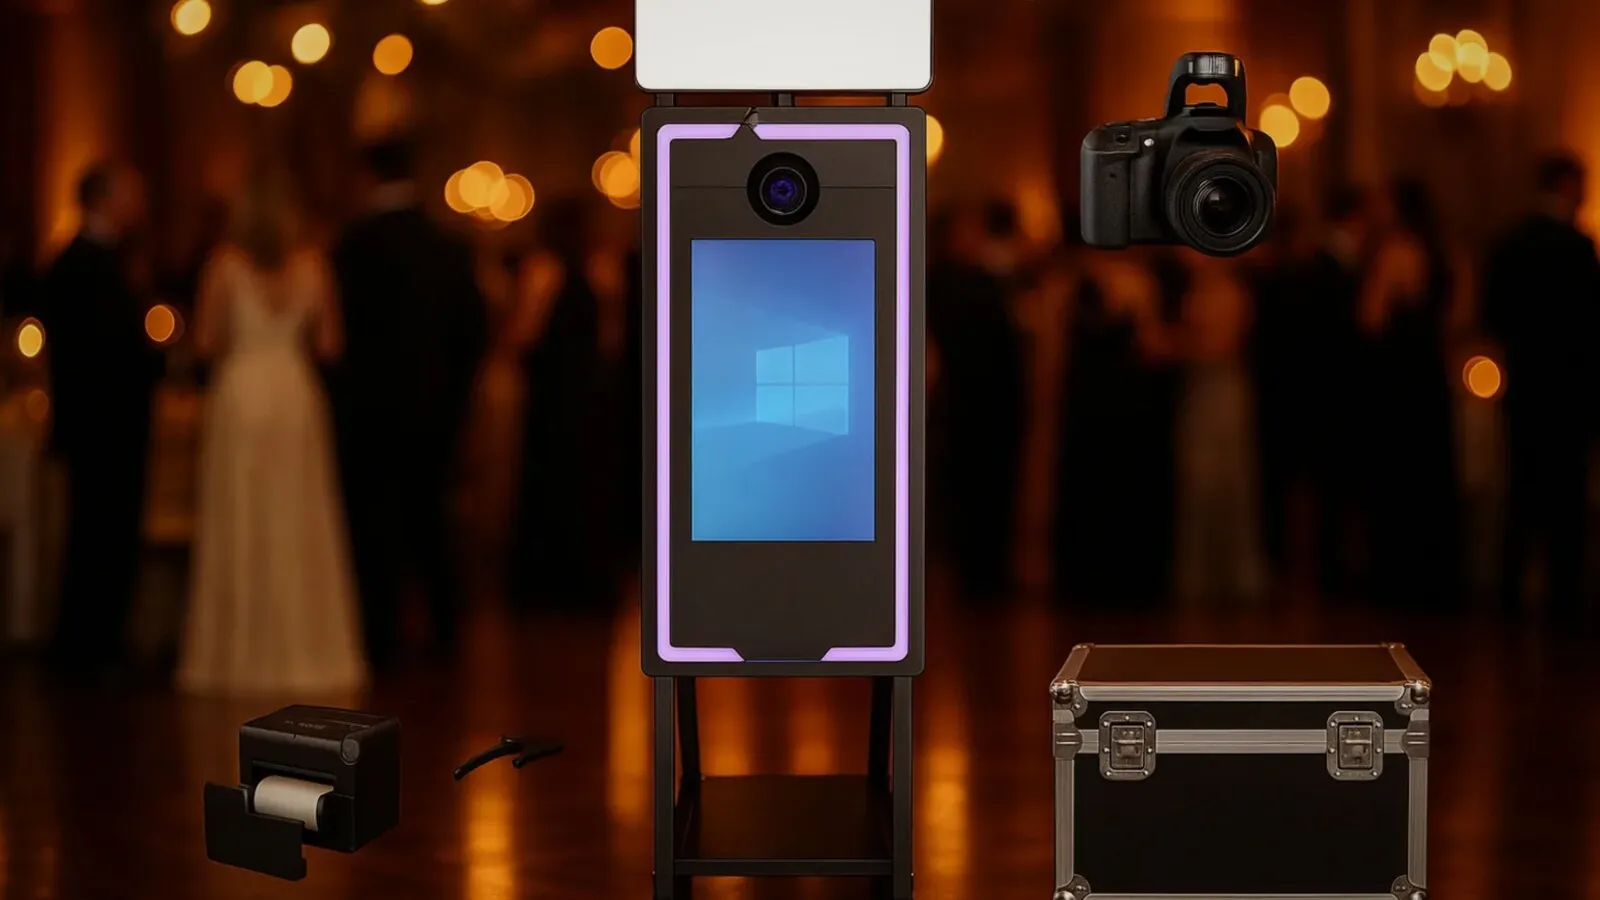
What Each Format Costs You in Time
A mirror booth is the friendly one: a corner, a socket and room for a group to step back. Its slow part is the light, because a reflective surface shows you every lamp in the room. A vintage cabinet is bulk rather than complexity: plan the route through the venue before you plan the build. A 360 platform has fewer parts and a fussier setup, because video punishes a floor that is out of level and a light that flickers in a way a still photo would forgive. Platforms come in 80 cm and 100 cm, and the difference decides whether the arm sweeps clear of the furniture. A vending unit is installed once rather than set up weekly, so the work moves to the survey.
The format comparison, floor space included, is in 360 vs mirror photo booth.
360 Photo Booth Setup
How to set up a 360 photo booth in the order that works: platform down and levelled first, arm on and balanced second, phone clamped and the app paired third, light fourth, barrier last. Level is not a detail here, because a platform that leans makes the arm speed up on the way down and the clip wobbles at exactly the point everyone watches. Give the arm a clear metre past the edge of the platform in every direction, and check what is above it as well as beside it, since low beams and chandeliers are what people forget.
360 photo booth lighting is the half of the 360 photo booth set up that separates a clip people post from one they delete. Continuous LED, never flash: the arm is filming, so a flash covers one frame out of hundreds. Ring lights on the arm travel with the camera and keep faces even all the way round, and adding two 360 photo booth lights on stands at the sides fills the shadows the arm cannot reach. Venue lighting fights you here more than at any other format, because a coloured wash or a flickering LED strip shows up as banding in slow motion, so a 360 photo booth light you brought and control beats anything the room offers. If you work regularly in bright rooms or outdoors, a 360 photo booth enclosure or a ring of pipe and drape gives you a controlled background and stops passers by walking through the shot. Most 360 photo booth setup ideas worth copying are that simple: control the light, control the background, keep the queue off the platform.
Mirror and DSLR Setups
A mirror photo booth setup is about reflections rather than space. Stand where the guest stands before you power it on and look for every lamp, window and exit sign that lands in the glass, then turn the machine a few degrees rather than moving it a metre. A DSLR photo booth setup adds one more thing to get right, the tether: mains adapter instead of a battery, the USB cable taped along the frame so nobody can pull it, and a full capture to print run before the camera position gets fixed. Both are covered from the hardware side in the photo booth camera guide.
Photo Booth Size and Space
The photo booth size that matters at a venue is the working footprint, not the packed one. A mirror booth or a cabinet needs its own footprint plus two metres in front for a group to step back into. A 360 platform comes in 80 cm and 100 cm and needs a clear circle of about three metres across for the arm and the people watching, and that circle is what a 360 degrees photo booth really occupies whatever the platform diameter says. Ask the venue for photo booth dimensions in floor terms, a square of so many metres by so many, and not in "there is space in the corner", because those two answers are rarely the same thing.
The Checks Before the First Guest
- A print in your hand. Not a preview on screen. Hold it, check the colour, check the crop, check the names are spelled the way the client spells them.
- Level. A glass base or a spinning platform that is out of level is felt by every guest who steps on it.
- Cables. Taped, matted or routed along a wall. Nobody remembers a good booth, everybody remembers tripping.
- Sharing. If guests get their photo on the phone, test it on a phone, on the connection the venue actually has.
- Media. Know how many prints are left on the loaded roll and have the spare open in the van, not sealed in a box.
- Frame. Stand where a guest stands and look at what is behind you: a fire extinguisher, a bin and a service door all end up in the photos.
The Four Things That Always Go Wrong
The socket is far away. It always is. Carry more extension lead than the venue could possibly need and carry it on a reel, so the unused length does not end up in a coil under the booth.
The floor is not level. Marquee decking, old parquet and terraces are rarely flat. Levelling feet and a couple of shims fix in a minute what a spinning platform will complain about all night.
The room light gets into the mirror. A spotlight behind the guests lands in the glass. Move the booth a metre, angle it, or kill that one lamp with the venue manager before the room fills.
The venue wifi does not work. Assume it will not. Bring your own connection and a booth that keeps capturing and printing when it drops, then uploads later. Your photo booth software should handle that without you touching it during the event.
What Lives in the Vehicle
This is the kit that stops a venue owning your evening: extension leads on a reel, a surge protected power strip, gaffer tape and a cable mat, cable ties, a spare media roll, a microfibre cloth and glass cleaner, a small torch, a spirit level, a multi tool, spare USB cables, a camera battery and charger, and a folding table for the printer when the venue gives you none. The full starting inventory, including what can wait, is in the photo booth equipment list.
Two more things belong in the van because they change the photos rather than the build: a backdrop sized for a real group and a crate of props you can set out in a minute.
Pack Down Is Part of the Setup
Most damage happens at two in the morning, tired, in a room being cleared around you. Power down properly, let the printer finish, unload the media before the machine goes on its side, and pack in the same order every single time. A booth that is packed well is a booth that sets up quickly at the next event.
If you are still choosing the machine, the price of each format is in how much a photo booth costs, and the business around it is in how to start a photo booth business. Who you buy it from decides who helps you when a setup goes wrong, which is the point of buying from a photo booth manufacturer.
Equipment That Sets Up the Same Way Every Time
We build the booths and configure the software before they ship, so the routine on this page is the routine your machine arrives with. Tell us the venues you work and we will map the right format to them.
Talk to Us